Create a New DNS API Access
Instructions
For the guides related to the DNS API, you must create your own DNS API access first.
This page explains how to do that!
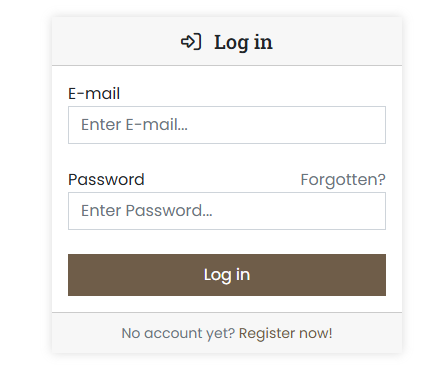
- Log in to the customer portal at https://cp.servercow.de with your credentials:
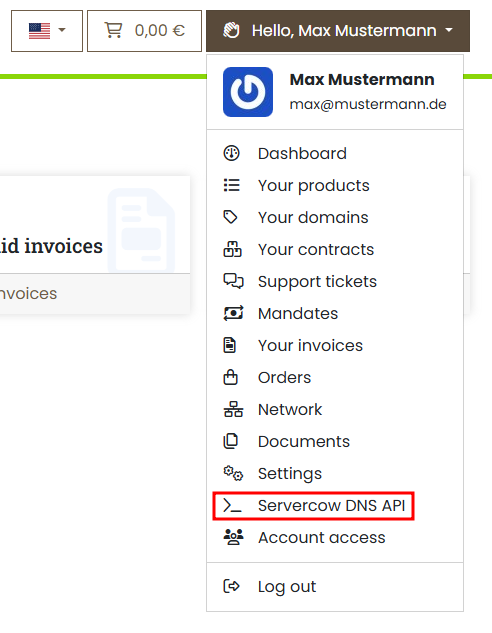
- Once logged in, click the button with your customer name in the top right and then select Servercow DNS-API from the dropdown:
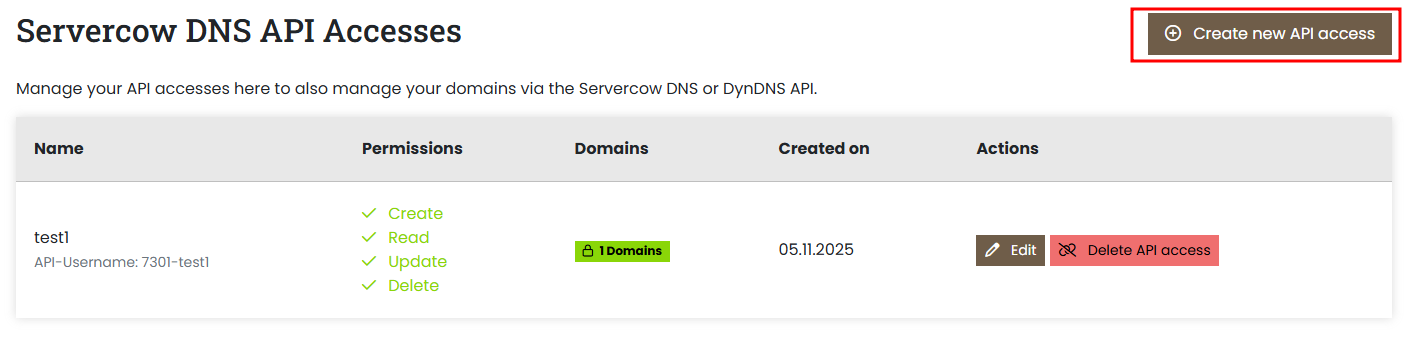
- On the following page you'll find an overview of your existing DNS API accesses. Click the Create new API access button here:
-
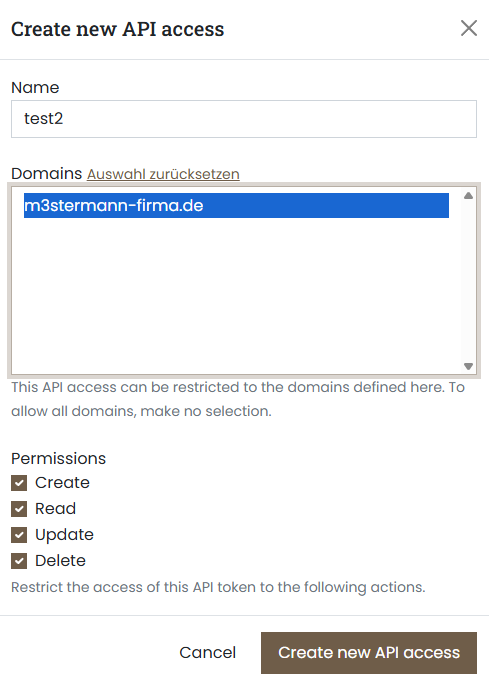
Now enter the desired information into the form:
- Name: This name serves as an identifier and suffix for authentication and can be chosen freely.
- Domains: Choose the domains the DNS API access should have access to. You can select multiple domains. If you don't select any, the access will have access to all your domains, as well as all future domains you register.
-
Permissions: Here you can restrict the actions the DNS API access may perform. By default the user cannot do anything except log in; however, you can enable individual permissions to allow specific actions.
Possible choices:- Create: Allows creating new DNS records.
- Read: Allows retrieving and viewing DNS records.
- Update: Allows modifying existing DNS records.
- Delete: Allows removing DNS records.
-
Finally click the Create new API access button to create the new DNS API access.
- A confirmation message appears with the credentials of the new DNS API access. Important: Note these credentials, especially the password, as it is displayed only once and cannot be retrieved later.
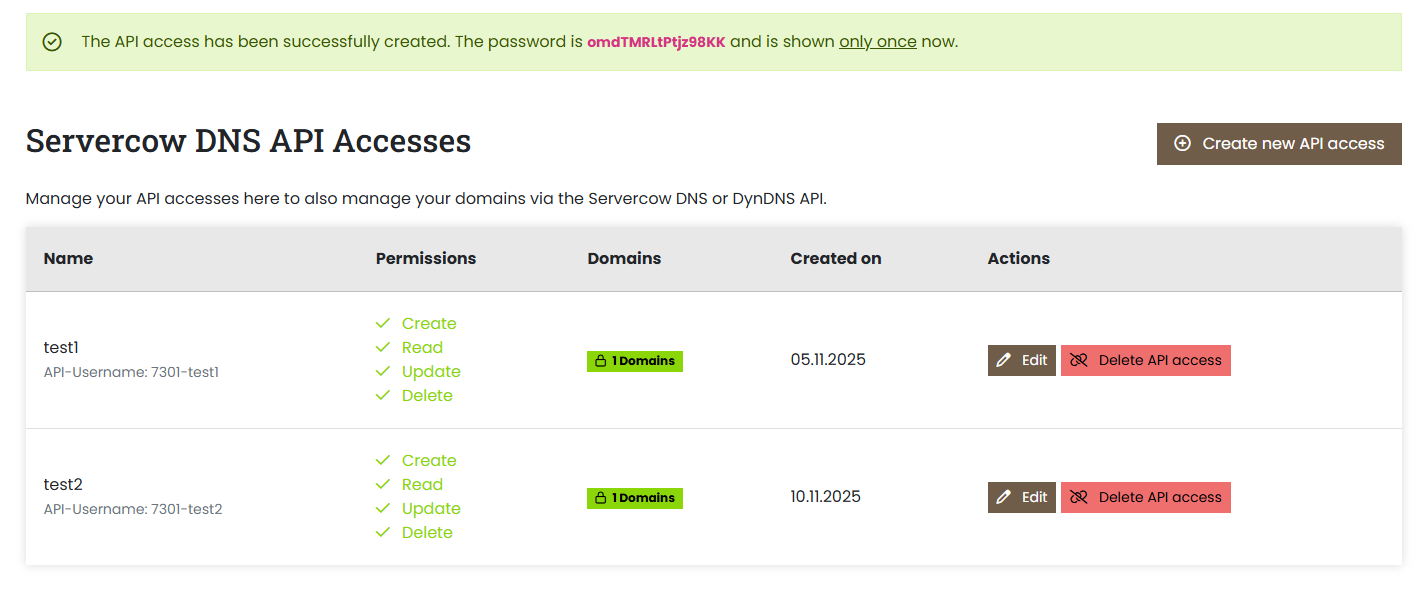
Once you've followed all the steps, the new API access will appear in the overview. You can now use it for the DNS API or DynDNS guides.
Authentication:
- Username: The displayed API username (Format:
<your-customer-number>-<your-chosen-api-name>) - Password: The password you noted from the confirmation message
Frequently Asked Questions
How can I reset my password for the DNS API access?
The password is generated when creating the DNS API access and cannot be shown again for security reasons. If you forgot your password or want to reset it, you can create a new DNS API access and delete the old one.
Can I change the permissions of my DNS API access afterwards?
Yes, you can adjust the permissions of your DNS API access at any time in the customer portal. Go to the Servercow DNS-API page, select the corresponding access, and modify the permissions as needed.
Please note that permission changes may not take effect immediately because existing sessions might still use the old permissions until they expire or re-authenticate.
If I don't select any domains, which domains does the DNS API access have access to?
If you don't select any domains when creating the DNS API access, the access will have rights to all your existing domains as well as any domains you register in the future. This allows comprehensive management of your DNS records via the API.
How do I delete a DNS API access?
To delete a DNS API access, go to the Servercow DNS-API page in the customer portal, select the access you want to remove, and click the Delete option. Confirm the deletion when prompted.
Can I create multiple DNS API accesses?
Yes, you can create as many DNS API accesses as you need to manage different applications or services. Each access can be configured individually, including associated domains and permissions.
Can I create multiple DNS API accesses with the same name?
Yes, you can create multiple DNS API accesses with the same name. The system automatically generates unique API usernames by combining your customer number with the chosen name. If a name already exists, a suffix will be added (e.g., test becomes test_1).
However, we recommend using unique names from the start to avoid confusion and keep your API accesses organized.